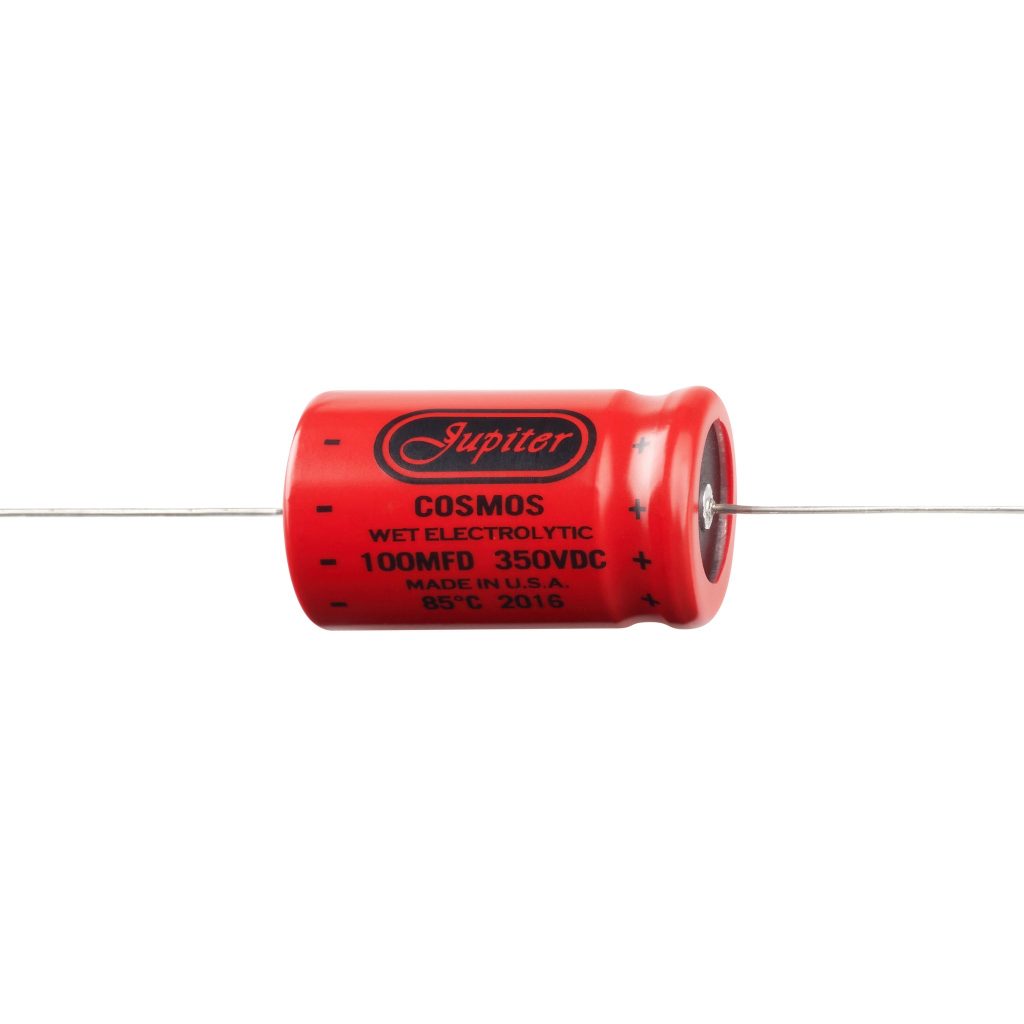
Mastering the Art of Capacitor Testing: How to Determine the Health of a Capacitor
Capacitors are essential components in electronic circuits, storing and releasing electrical energy. However, over time, capacitors can degrade or fail, leading to circuit malfunctions. In this article, we will delve into the intricacies of capacitor testing and explore various methods to accurately determine whether a capacitor is good or not.
- Visual Inspection:
The first step in capacitor testing is a thorough visual inspection. Look for any physical damage, such as bulging, leaking, or discoloration. These signs often indicate a faulty capacitor that needs replacement. Additionally, check for proper soldering and ensure that the capacitor is securely mounted on the circuit board. - Capacitance Measurement:
Capacitance is a fundamental property of capacitors, and measuring it can provide valuable insights into their health. To measure capacitance, you will need a digital multimeter with a capacitance measurement function. Follow these steps: a. Discharge the capacitor: Before measuring capacitance, ensure that the capacitor is fully discharged to avoid any electrical shock. Use a resistor or a specialized discharge tool to safely discharge the stored energy. b. Set up the multimeter: Switch the multimeter to the capacitance measurement mode and select an appropriate range. If the capacitance value is unknown, start with the highest range and gradually decrease until a reading is obtained. c. Connect the leads: Connect the multimeter leads to the corresponding capacitor terminals, ensuring a secure connection. Take note of the polarity, as some capacitors are polarized and must be connected correctly. d. Read the measurement: The multimeter will display the capacitance value. Compare this value with the capacitor's rated capacitance. A significant deviation may indicate a faulty capacitor. - ESR (Equivalent Series Resistance) Measurement:
ESR is another crucial parameter to assess the health of a capacitor. ESR represents the internal resistance of a capacitor and can increase as the capacitor deteriorates. To measure ESR, you will need an ESR meter or a digital multimeter with an ESR measurement function. Follow these steps: a. Discharge the capacitor: As with capacitance measurement, ensure the capacitor is fully discharged before proceeding. b. Set up the meter: Switch the ESR meter or multimeter to the ESR measurement mode. Some meters may require additional settings, such as selecting the capacitor type or range. c. Connect the leads: Connect the meter leads to the capacitor terminals, observing the correct polarity. d. Read the measurement: The meter will display the ESR value. Compare this value with the manufacturer's specifications or reference values for similar capacitors. Higher ESR values may indicate a faulty capacitor. - Leakage Current Testing:
Leakage current refers to the small amount of current that flows through a capacitor when it should be inactive. Excessive leakage current can indicate a faulty capacitor. To test leakage current, follow these steps: a. Discharge the capacitor: Ensure the capacitor is fully discharged before proceeding. b. Set up the measurement: Use a digital multimeter in current measurement mode. Select an appropriate range that can measure small currents. c. Connect the leads: Connect the multimeter leads in series with the capacitor, ensuring proper polarity. d. Read the measurement: The multimeter will display the leakage current. Compare this value with the manufacturer's specifications or reference values. Higher leakage currents may indicate a faulty capacitor.
Conclusion:
By combining visual inspection, capacitance measurement, ESR measurement, and leakage current testing, you can effectively determine the health of a capacitor. Regular testing and maintenance can help prevent circuit failures and ensure optimal performance. Remember, accurate testing requires proper equipment and adherence to safety precautions.